


Table of contents

No headings in the article.
We will see how we can create a website with Appian backend and React front end application. We will divide the series into 3 steps.
- Build a React Client Application.
- Build Backend Appian application and exposing Appian APIs.
- Integrating the APIs
In this tutorial we will see how we can create a simple React application.
Following are the pre requisites for application development.
- Code editor (I recommend VSCode )
- Node.js
- Create React App
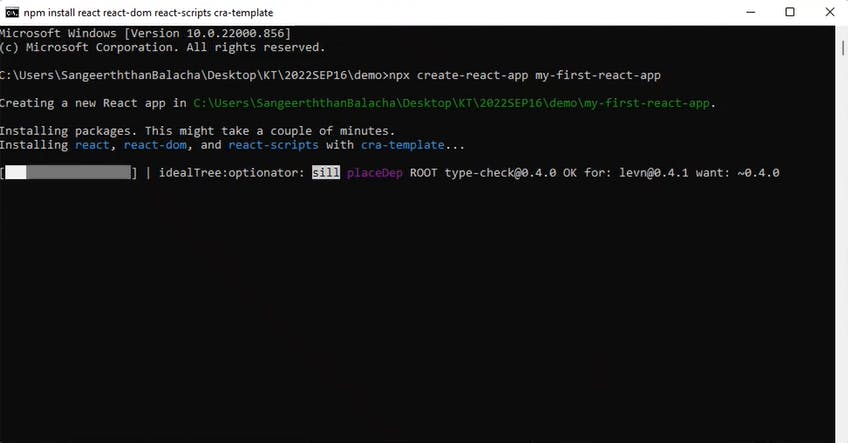
Now open a new terminal or command prompt and type
npx create-react-app my-first-react-app
The command will look like below.
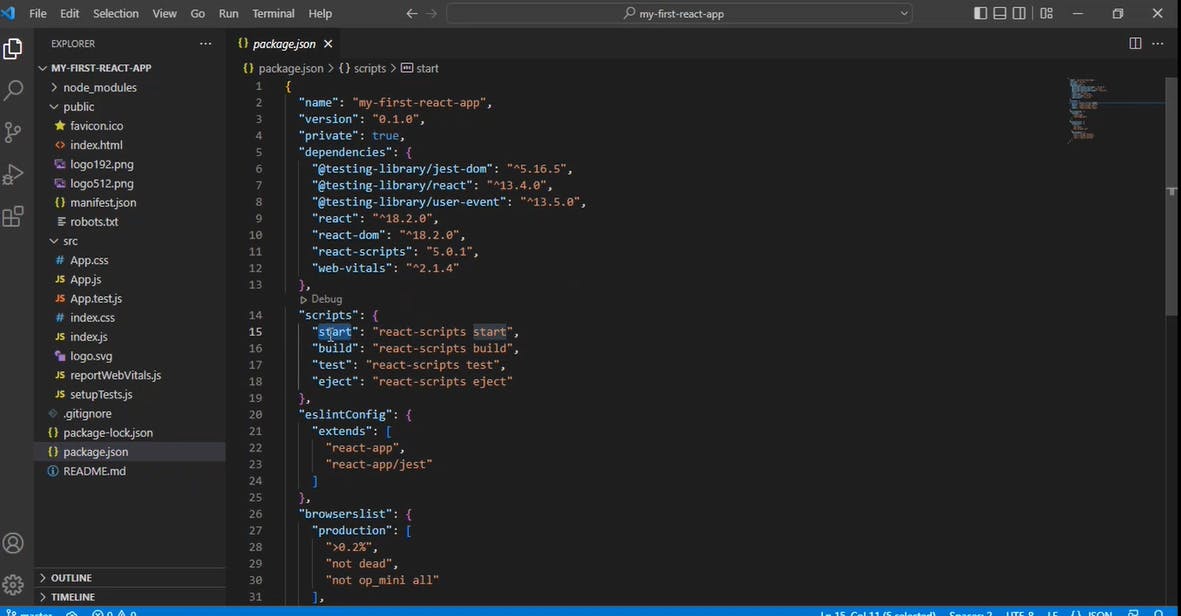
Once the application is loaded into the browser, open your application with a code editor as shown below.
Create a new folder called components in the root directory.Create components with npx create-react-component firstComponent . It will create 4 files
FirstComponent.css
.component {
    background-color: blue;
}
FirstComponent.js
import React    from "react";
import template from "./FirstComponent.jsx";

class FirstComponent extends React.Component {
  render() {
    return template.call(this);
  }
}

export default FirstComponent;
FirstComponent.jsx
import "./FirstComponent.css";
import React from "react";

function template() {
  return (
    <div className="first-component component">
      <h1>FirstComponent</h1>
    </div>
  );
};

export default template;
index.js
import FirstComponent from "./FirstComponent";
export default FirstComponent;
Similar manner create another component called SecondComponent
Then change the App.js like below
import logo from './logo.svg';
import './App.css';
import FirstComponent from './components/FirstComponent/FirstComponent';
import SecondComponent from './components/SecondComponent/SecondComponent';

function App() {
  const components = [<FirstComponent />, <SecondComponent />]
  return (
    <div className="App">
    {components.map(item =><li>{item}</li>)}
    </div>
  );
}

export default App;
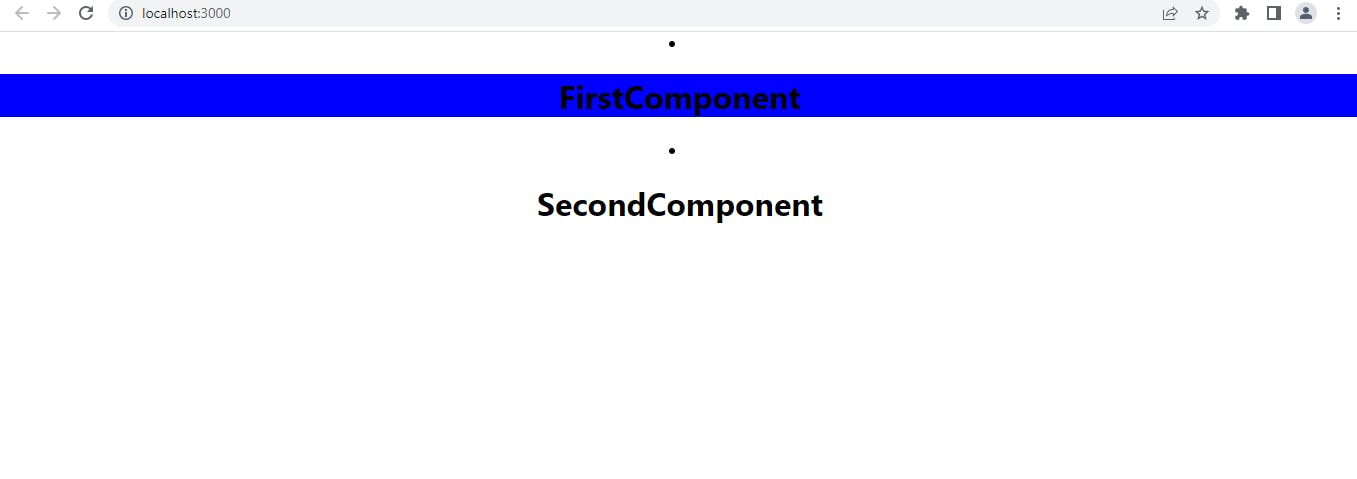
Now we have created a sample application which can render the components like a list view.
Then start the server with below command
npm start
The local web page will look like below.
We will wrap with this basic setup and will see about how to create the other necessary components for the website in the next part.
Happy Coding!!!